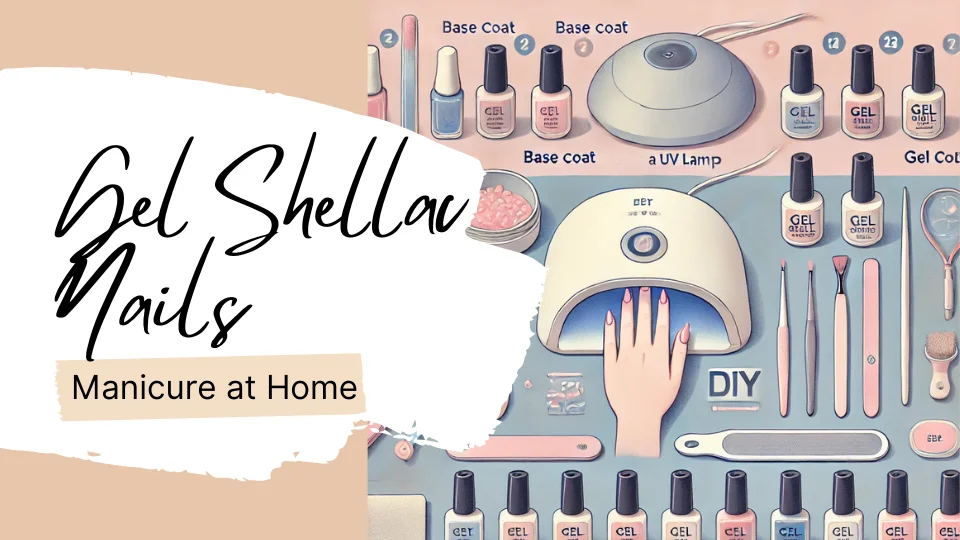
DIY Gel Shellac Nails Manicure at Home
A DIY gel shellac nails manicure is an excellent way to achieve a long-lasting, professional-looking manicure without stepping foot in a salon. Gel shellac nails are known for their durability, glossy finish, and chip-free wear, making them a popular choice for those who want beautiful nails that last. With the right tools and techniques, you can create salon-quality nails from the comfort of your own home. This article will guide you through the process of doing a DIY gel shellac nails manicure, offering tips, tools, and troubleshooting advice for perfect results.
What You Need for a DIY Gel Shellac Manicure?
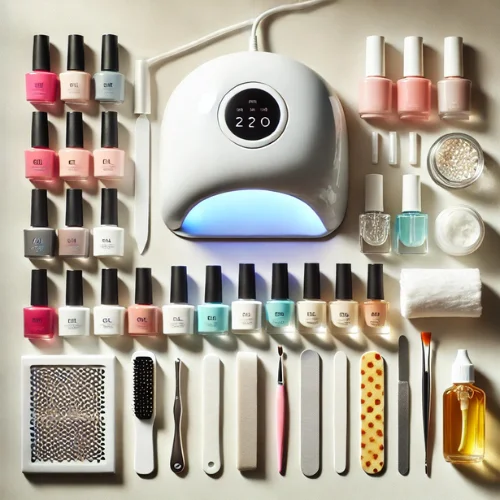
Before you begin, it’s important to gather all the necessary tools and products to ensure a successful DIY gel shellac manicure. Below are the essential items you’ll need to get started:
Essential Tools and Products:
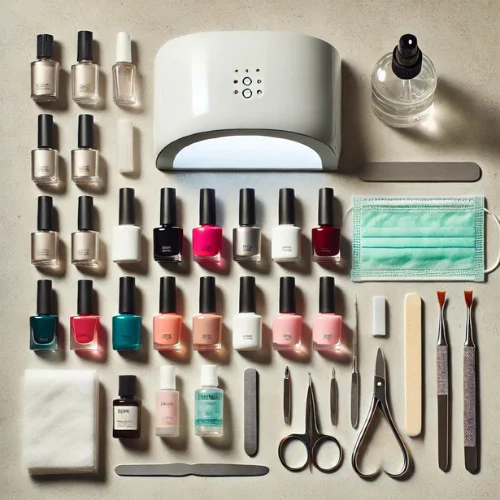
- Gel Nail Polish: Choose your favorite gel nail polish colors, including base and top coats. Opt for high-quality brands that offer vibrant colors and long-lasting formulas.
- UV/LED Nail Lamp: A UV or LED lamp is necessary for curing the gel polish. Ensure that the lamp is suitable for the gel polish brand you’re using. LED lamps cure gel polish faster than UV lamps, but both are effective.
- Nail File and Buffer: These tools are essential for shaping your nails and prepping them for the gel polish. A buffer smooths the nail surface to create a perfect base for the gel.
- Cuticle Pusher: This tool helps push back your cuticles for a clean manicure. It’s important for ensuring that the gel polish doesn’t touch your cuticle area, which could cause lifting.
- Rubbing Alcohol: Use rubbing alcohol to cleanse your nails before and after applying the gel. This helps remove oils, dirt, and other residues that can affect the adhesion of the gel.
- Lint-Free Wipes: These are perfect for cleaning and wiping off any excess product without leaving lint or fibers behind.
- Nail Primer: Nail primer is optional but can help improve the bond between your natural nail and the gel polish, ensuring a longer-lasting manicure.
Step-by-Step Guide to DIY Gel Shellac Manicure
Follow these steps to achieve the perfect DIY gel shellac nails manicure at home. Each step is important for ensuring that your manicure is flawless and lasts as long as possible.
Step 1: Prepare Your Nails
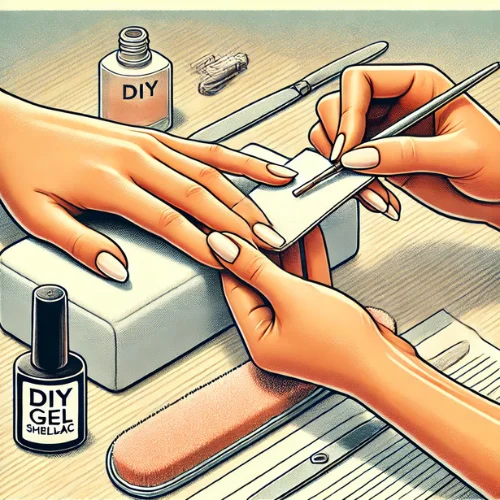
The first step in any manicure is to remove any old nail polish. Use a gentle nail polish remover to ensure that no residue is left behind. Once your nails are clean, it’s time to shape them. Use a nail file to file your nails into the desired shape—whether square, oval, or round. Make sure that all nails are uniform in length.
Next, use a nail buffer to gently buff the surface of your nails. This step is crucial because it removes oils and creates a smooth surface for the gel polish to adhere to. Avoid buffing too aggressively, as this can damage your natural nails.
Step 2: Push Back Your Cuticles
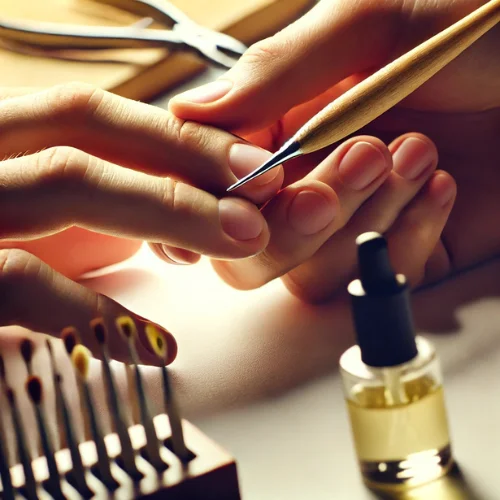
Use a cuticle pusher to gently push back your cuticles. This will create more surface area on your nails for the gel polish and ensure a cleaner look. Be gentle while pushing back the cuticles to avoid damaging the delicate skin around your nails. You can use a wooden or metal cuticle pusher, depending on your preference.
Step 3: Clean and Prep the Nails
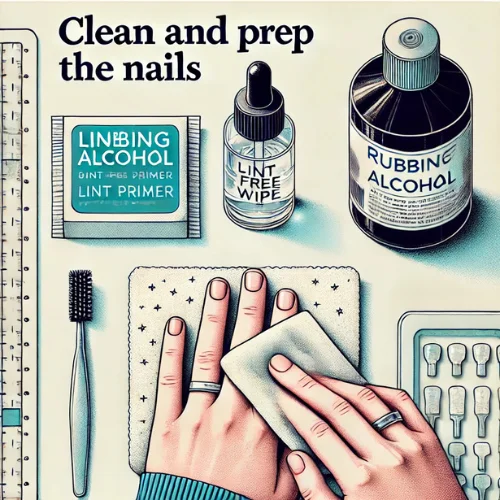
After shaping your nails and pushing back the cuticles, it’s important to clean your nails thoroughly. Wipe your nails with rubbing alcohol using a lint-free wipe. This step removes any dust, oils, or residues from the buffing process and prepares your nails for the gel polish.
If you’re using a nail primer, apply it now. A thin layer of primer helps to create a better bond between your natural nails and the gel, preventing lifting and extending the life of your manicure.
Step 4: Apply Base Coat

Now it’s time to apply the base coat. Apply a thin layer of gel base coat to your nails, making sure to cover the entire nail surface. Avoid applying the base coat too close to your cuticles, as this can cause the gel to lift prematurely. Once applied, cure the base coat under your UV or LED lamp for the recommended time—usually 30-60 seconds, depending on the type of lamp you’re using.
Step 5: Apply Gel Polish
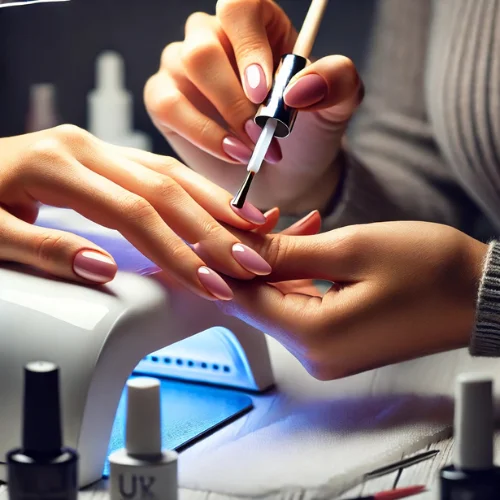
After curing the base coat, it’s time to apply the gel polish color of your choice. Start by applying a thin, even layer of gel polish to each nail. Make sure to cover the entire nail, from the base to the tip, but avoid the cuticle area. If you apply the gel too close to your cuticles, it may cause lifting over time.
Once you’ve applied the first layer, cure it under the UV or LED lamp for the recommended time. Typically, you will need to cure the gel for 30-60 seconds. After the first coat is cured, apply a second layer of gel polish for a more opaque and vibrant color. Cure the second layer as well.
Step 6: Apply Top Coat
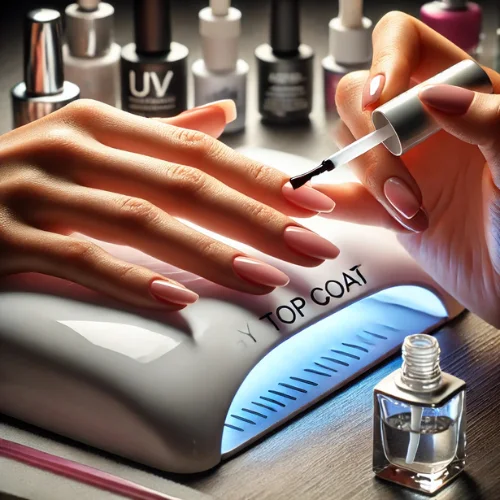
The top coat is what seals in the color and adds a glossy finish to your nails. Apply a thin layer of gel top coat to each nail, ensuring that the entire nail is covered. Be sure to seal the edges of the nails to prevent chipping. Cure the top coat under your lamp for 30-60 seconds.
Step 7: Cleanse the Nails
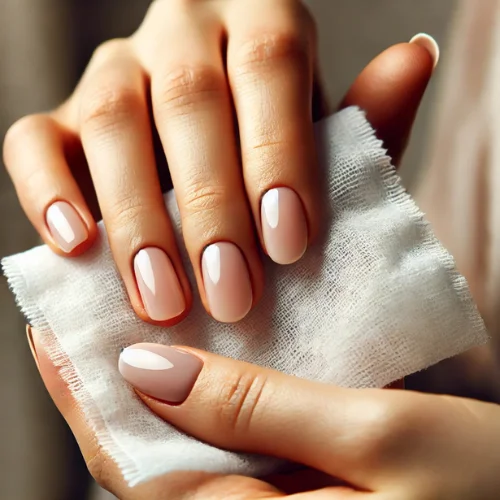
After curing the top coat, your nails will feel sticky. This is completely normal and part of the gel process. Use a lint-free wipe soaked in rubbing alcohol to gently wipe off the sticky layer, leaving behind a shiny, glossy finish. Be careful not to touch the nails too much during this step, as the polish may still be soft and prone to smudging.
Tips for a Long-Lasting Gel Shellac Manicure
To ensure your gel shellac nails last as long as possible, follow these tips:
- Avoid Skin Contact: Be careful not to get gel polish on your skin, as this can cause lifting. If you do get polish on your skin, clean it up before curing.
- Apply Thin Layers: Apply thin layers of gel polish and top coat to avoid bubbling and uneven curing. Thin layers will also help the polish cure properly under the lamp.
- Proper Curing: Ensure that each layer is fully cured before moving on to the next step. If a layer is not properly cured, it can cause the polish to smudge or chip.
- Avoid Water: After completing your manicure, try to avoid water exposure for at least an hour to ensure that the gel fully sets and adheres to your nails.
Troubleshooting Common Issues
Even with the best preparation, sometimes things don’t go as planned. Here are a few common issues and how to fix them:
My Gel Polish Is Peeling Off Quickly
If your gel polish starts peeling off quickly, it’s likely due to improper preparation. Make sure that you buff your nails well and remove all oils and residues before applying the gel. Applying a thin base coat and curing it properly is also important for ensuring a strong bond between the gel and your nails.
My Gel Polish Is Bubbling
Bubbling can occur if the gel is applied too thickly or if the lamp is not curing the polish properly. Ensure that you apply thin, even layers of gel polish, and check that your lamp is working efficiently. If you’re using a UV lamp, it may take longer to cure the polish than an LED lamp.
My Nails Are Too Thick or Uneven
If your nails are looking thick or uneven, it’s likely because the gel was applied too thickly. Apply thinner layers of gel and cure each layer properly. After curing, you can use a nail file to gently smooth out any uneven areas.
FAQs About DIY Gel Shellac Manicure
How long do gel shellac nails last?
Gel shellac nails typically last 2-3 weeks without chipping, making them an ideal option for long-lasting manicures. However, how long they last can depend on how well you take care of your nails and whether they are exposed to harsh chemicals or excessive moisture.
Can I remove gel shellac nails at home?
Yes, you can remove gel shellac nails at home using acetone or a gel remover. Soak your nails in acetone for 10-15 minutes, then gently push off the gel using a cuticle pusher. Be careful not to damage your natural nails during the removal process.
Can I use a regular nail lamp for gel shellac nails?
No, you need a UV or LED nail lamp specifically designed for curing gel polish. Regular nail lamps do not have the necessary light intensity to cure gel polish properly.
How do I prevent my gel nails from chipping?
To prevent chipping, ensure that you apply thin layers of gel, cure each layer properly, and avoid exposing your nails to harsh chemicals or excessive moisture. Additionally, be sure to seal the edges of your nails with the top coat to prevent wear.
Conclusion
A DIY gel shellac nails manicure at home is an affordable and convenient way to achieve a salon-quality look. By following the steps outlined in this article, you can create beautiful, long-lasting nails with minimal effort. Remember to take your time, use the right tools, and practice proper nail care to ensure that your gel shellac nails stay perfect for weeks. Happy polishing!